Best brisket ever
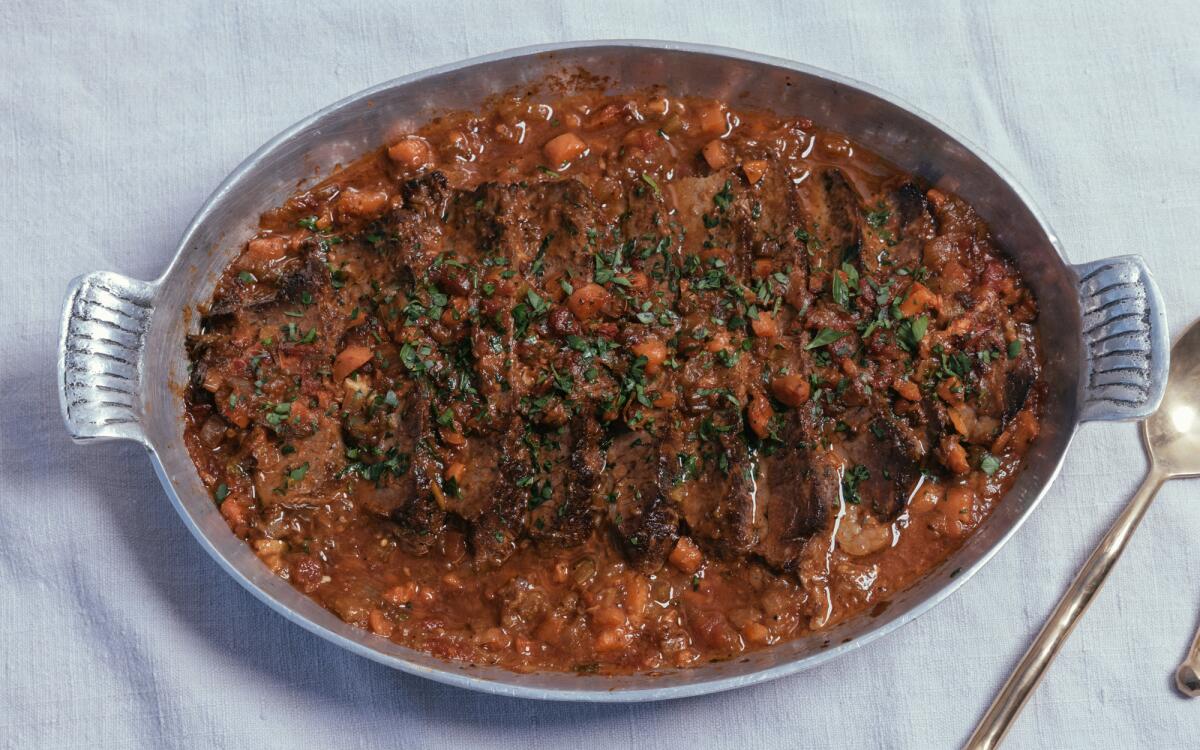
Delicious brisket does not require fancy ingredients, a lot of work or special equipment. If you focus on technique and keep the ingredient list simple, you will have delicious, tender results every time.
The day before you want to cook the brisket, trim any excess fat, leaving the cap about ¼-inch thick. Sprinkle the salt and pepper on all sides of the meat and use your hands to rub in the seasoning. Wrap in plastic or place in a zip-top bag and refrigerate overnight. (If cooking the brisket the same day, pat it dry, sprinkle with 2 teaspoons kosher salt and ½ teaspoon ground black pepper, use your hands to rub in the seasonings and skip to step 3.)
When ready to cook, remove the brisket from the refrigerator, unwrap and pat dry with kitchen towels.
Heat oven to 325 degrees.
Rub the meat on all sides with the cut side of the halved garlic clove. Using a sharp knife, make several long, diagonal slashes about ⅔ to ¾ of the way through the fat cap. Repeat, cutting in the opposite direction to create a cross-hatch pattern.
In a heavy-bottomed casserole, heat the oil over medium-high and when the oil is hot (shimmering), add the brisket, fat side down, and let it cook, undisturbed, until the bottom is well-browned, 2 to 3 minutes. Flip the meat and continue searing until well-browned on all sides, 4 to 6 minutes total. Remove the meat to a platter.
Add the onions, carrots and celery, and cover the pan for about 2 minutes, until the vegetables have released some of their juices. Uncover the pan, add the crushed garlic and continue cooking the vegetables, stirring occasionally, until softened, 5 to 6 minutes.
With a large spoon, remove ½ to ⅔ of the vegetables from the pan. Add the tomatoes and broth, tomato sauce or water and bay leaf, stirring and scraping up any bits stuck to the bottom of the pan. Return the brisket to the pan, fat side up, along with any accumulated juices. Spoon the previously removed vegetables over the top of the meat, add the 2 garlic halves, sliced garlic and thyme, and bring to a boil. If needed, add more broth, tomato juice or water so that the meat is about ⅔ — but not fully — immersed in the liquid.
Cover and slide the pan into the oven and cook until it is fork tender, about 3 hours. (You know it is fork tender when you can easily slide a fork into the meat and remove it with little resistance.) Let cool in the pan, then refrigerate the brisket in its juices until the fat has solidified, preferably overnight.
Remove solidified fat from the chilled brisket and reserve for another use or discard. (If serving immediately, skim the fat with a spoon or pour the juices into a fat separator.) Separate the brisket from the juices and cut, against the grain, into ½-inch slices. Transfer about a third of the sauce to an ovenproof serving dish, lay the sliced meat on the sauce, top with the remaining sauce and add the lemon juice and, if necessary, ½ cup or so of water.
For serving, heat, covered, in a 350-degree oven until simmering and heated through, about 30 minutes. If the sauce is too thin, uncover and let cook for an additional 10 to 15 minutes, or until sauce reaches the desired consistency.
Slow Cooker: Follow the same instructions but in steps 5 and 6, use a large, heavy-bottom skillet on the stovetop to sear the meat and sauté the vegetables. In step 7, transfer ½ to ⅔ of the vegetables to the slow cooker. Add the brisket, fat side up and top with the remaining vegetables. Add the liquid, sliced garlic, bay leaf and thyme. For step 8, cook for 5 hours on high or 9 hours on low and proceed with the instructions. Continue with steps 9 and 10.
Get our Cooking newsletter.
Your roundup of inspiring recipes and kitchen tricks.
You may occasionally receive promotional content from the Los Angeles Times.


