Apple borsellini
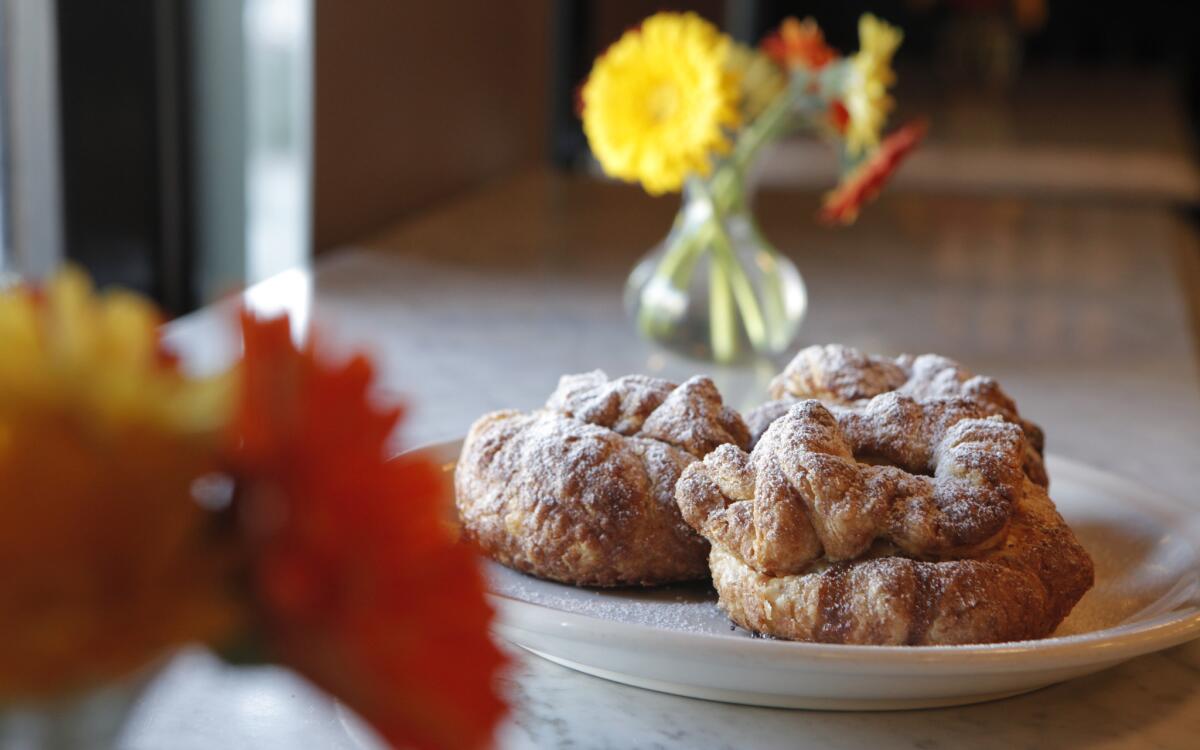
One of the things that keeps me excited about what I do is that I am always learning.
When I was making puff pastry not long ago, someone asked me why I made a tic-tac-toe-like slash in the process of making the dough. I had been slashing puff pastry dough, and having my chefs do it, for 30 years, or for as long as I’d been making puff pastry, and yet I had no idea why. I was thinking about this during a drive down to Pizzeria Mozza in Newport Beach. Then, just when I got out of the car, like magic, there was the renowned French baker Claude Koeberle. “You’re just the man I want to see!” I told him. I asked him my question about slashing, which led to a long discourse about butter and oven temperatures and other details too esoteric to go into.
And then, just to prove it’s never too late to teach an old dog new tricks, when I told Claude that at Osteria Mozza we used puff pastry to make borsellini, or beggar’s purses, filled with spiced roasted apples, he told me that for this dessert, I shouldn’t be using true puff pastry at all; that for anything filled, I should use what’s known as “rough puff.”
This was news to me. But if this were true, which, Claude being Claude, I assumed it was, this was great news for home cooks as well. Making classic puff pastry is extremely time consuming and precise; especially if you’ve never done it before, many things can go wrong.
Now that there are packaged alternatives made with real butter, unless you are a cooking Olympian who enjoys a challenge for its own sake or wants the bragging rights of being able to say you’ve made something that nobody in their right mind has ever made from scratch unless they are being paid to, there is no reason to make classic puff pastry at home.
But rough puff is a different story.
To make classic puff pastry, you start with the detrempe, which is a basic dough made of flour, water and butter, and into that you cut a lot more butter. The layers that give puff pastry the name pate feuilletee, or “layered pastry” in French, are created by a process called “turning the dough,” whereby after adding the second dose of butter, you roll out the dough, fold it into thirds, roll it out again, fold it again ... and on it goes until you’ve made a total of four or more turns.
Rough puff is made using the same ingredients and the same turning method as in classic puff pastry. The difference is that with classic puff pastry, the butter is molded into a large rectangle of a specific size and shape and integrated into the detrempe in a very precise and symmetrical way. With rough puff, the butter is cut into big chunks and integrated into the detrempe in a random way, resulting in a much easier, less time-consuming process.
When I learned to make puff pastry while I was a student at Le Cordon Bleu in London, they taught rough puff as a lazy man’s (or woman’s) alternative to the classic version. Since then, I’ve always insisted that if I were going to make puff pastry, it had to be “the right way.” Now, all these years later, here I was, standing with a true authority being told that rough puff wasn’t an inferior option, it was simply a different dough, and in fact it was the dough that for filled pastries would yield the superior product.
Of course, the first thing I did when I got back to the Osteria was set out to try our borsellini using puff pastry made Claude’s way. This meant not only using rough puff but also using milk in place of half the water used in classic puff pastry, a tip Claude reminded me that Paris pastry chef Pierre Herme used for both flavor and color.
Together with my pastry chefs, I made several versions of rough puff, playing with different amounts of milk, butter and salt. The end result was as light, crisp, flaky, flavorful and golden brown as I could ever hope a puff pastry would be -- and as Claude promised, even better than the classic one I had been using.
My puff pastry world had officially been rocked, and though you didn’t even know it then, if you’re a fan of making or eating puff pastry, yours was too.
I almost forgot to tell you: Claude explained to me that the reason we slash the detrempe is that it helps the dough to relax, which makes it easier to work with. A fitting parallel.
In a large bowl, toss the apples with the granulated and dark brown sugars. Set aside until the apples start to break down and just begin to release their juices, at least 1 hour and up to overnight.
In a medium saucepan heated over high heat, melt the butter. As it is melting, use a small paring knife to split the vanilla bean. Scrape the pulp and seeds out of the bean and add to the melting butter, along with the bean pod. Swirl the pan to ensure the butter cooks evenly and doesn’t burn. Continue cooking until the bubbles subside and the butter is dark brown with a nutty, toasty aroma. Remove from heat and discard the bean pod.
Heat the oven to 300 degrees. Cut 12 pieces of kitchen string, each 15 inches long.
Toss the apples in the bowl with the cornstarch, apple juice, cinnamon, nutmeg and brown butter. Transfer the filling to a rimmed baking sheet, spreading the apples in a single layer. Roast the apples until they’re tender but keep their shape, 30 minutes, stirring the apples every 10 minutes for even roasting.
Transfer the pan to a rack, and cool the filling completely. The filling can be stored, covered and refrigerated, up to 3 days.
Remove the puff pastry dough from the refrigerator to a lightly floured surface. Cut the dough into circles using a 4 1/2-inch cutter (a small bowl or cake pan will work). You will need 12 circles; save the scraps for another use (stack the scraps and pat down before using; do not press the dough into a ball, or the layers will be lost).
Using a floured rolling pin, roll each circle to a diameter of 7 inches (the circles do not have to be perfect).
Scoop one-half cup of the filling and mound it into the center of a circle of dough. Pull up the bottom edges to meet in the center of the filling. Holding the dough with one hand, gather up the edges to meet in the center to pinch it closed like a beggar’s purse. Tie a piece of the kitchen string loosely around the purse, giving it about an inch of slack (the dough will puff as it bakes, so the string should not be tied too tight). Repeat to make the remaining borsellini.
Place the borsellini on parchment-lined baking sheets, spacing them about 3 inches apart. Chill the purses at least 30 minutes, up to 3 days before baking.
Heat the oven to 400 degrees. Brush the borsellini with egg wash, and sprinkle them liberally with cinnamon sugar.
Bake the borsellini until the pastry is puffed and golden brown, 45 minutes to an hour, rotating the baking sheets every 30 minutes.
Remove the sheets to a rack to cool. Dust the borsellini with powdered sugar before serving.
Get our Cooking newsletter.
Your roundup of inspiring recipes and kitchen tricks.
You may occasionally receive promotional content from the Los Angeles Times.

