Dry-brined turkey recipe

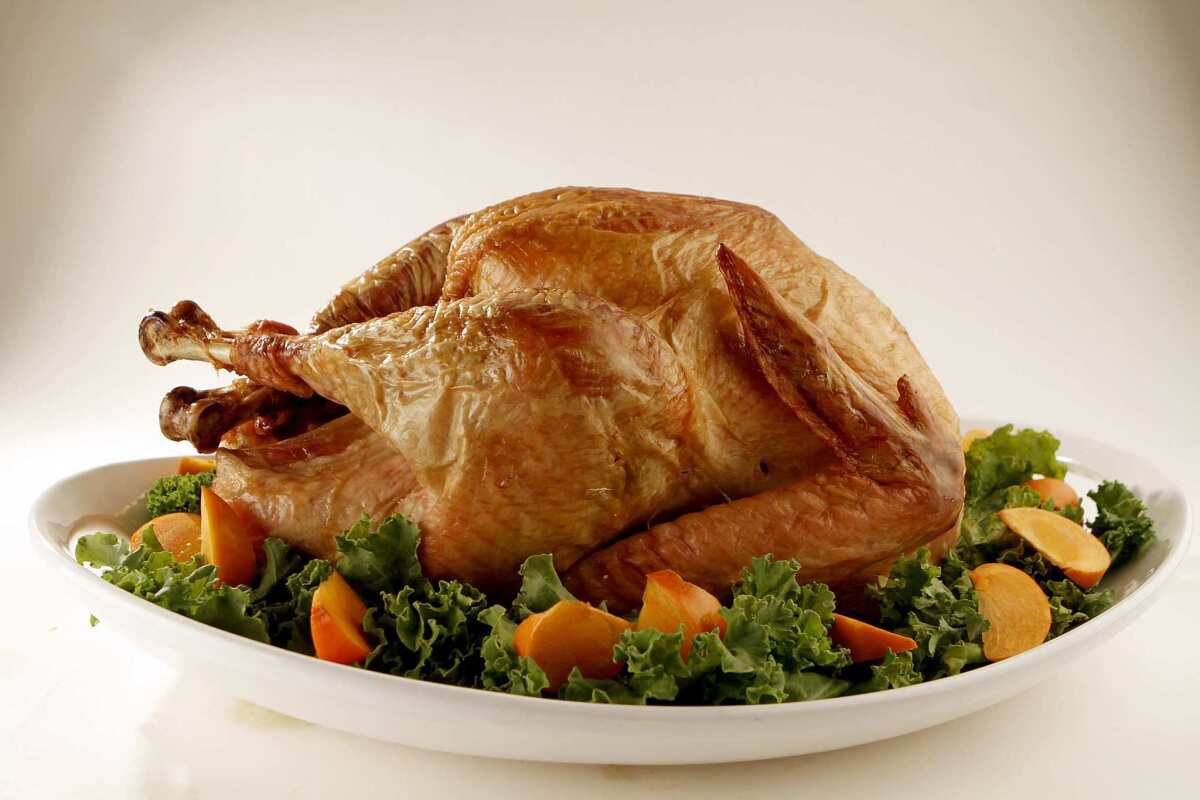
This is the bird everyone has been talking about. Inspired by the famous roast chicken by Judy Rodgers, chef at San Francisco’s beloved Zuni Café, it’s as simple as can be. No more pale, under-seasoned birds. No more finding room in the refrigerator for huge pails of brine. Salt it, bag it and forget it (well, give it a rub once a day just to be sure the salt is evenly distributed). The resulting turkey is moist, gloriously browned and perfectly seasoned all the way to the bone.
Begin the brining the Sunday evening before Thanksgiving and give it several hours in the refrigerator uncovered at the end to thoroughly dry the skin. Because roasting times can vary with big birds, allow an extra hour or so — if it’s done early, tent it with foil and keep it warm; the rest will only improve the texture of the meat.
Dry-brined turkey
Total time: 2 hours, 50 minutes, plus 3 days brining and drying time
Servings: 11 to 15
Note: This is more a technique than a recipe. It makes a bird that has concentrated turkey flavor and fine, firm flesh and that is delicious as it is. But you can add other flavors as you wish. Minced rosemary would be a nice finishing addition. Or brush the bird lightly with butter before roasting.
1 (12- to 16-pound) turkey
Kosher salt
1. Wash the turkey inside and out, pat it dry and weigh it. Measure 1 tablespoon of salt into a bowl for every 5 pounds the turkey weighs (for a 15-pound turkey, you’d have 3 tablespoons).
2. Sprinkle the inside of the turkey lightly with salt. Place the turkey on its back and salt the breasts, concentrating the salt in the center, where the meat is thickest. You’ll probably use a little more than a tablespoon. It should look liberally seasoned, but not over-salted.
3. Turn the turkey on one side and sprinkle the entire side with salt, concentrating on the thigh. You should use a little less than a tablespoon. Flip the turkey over and do the same with the opposite side.
4. Place the turkey in a 2½-gallon sealable plastic bag, press out the air and seal tightly. Place the turkey breast-side up in the refrigerator. Chill for 3 days, turning it onto its breast for the last day.
5. Remove the turkey from the bag. There should be no salt visible on the surface, and the skin should be moist but not wet. Place the turkey breast-side up on a plate and refrigerate uncovered for at least 8 hours.
6. On the day it is to be cooked, remove the turkey from the refrigerator and leave it at room temperature at least 1 hour. Preheat the oven to 425 degrees.
7. Place the turkey breast-side down on a roasting rack in a roasting pan; put it in the oven. After 30 minutes, remove the pan from the oven and carefully turn the turkey over so the breast is facing up (it’s easiest to do this by hand, using kitchen towels or oven mitts).
8. Reduce the oven temperature to 325 degrees, return the turkey to the oven and roast until a thermometer inserted in the deepest part of the thigh, but not touching the bone, reads 165 degrees, about 2¾ hours total roasting.
9. Remove the turkey from the oven, transfer it to a warm platter or carving board; tent loosely with foil. Let stand at least 30 minutes to let the juices redistribute through the meat. Carve and serve.
Each of 15 servings: 564 calories; 77 grams protein; 0 carbohydrates; 0 fiber; 26 grams fat; 8 grams saturated fat; 261 mg cholesterol; 856 mg sodium.
More to Read
Eat your way across L.A.
Get our weekly Tasting Notes newsletter for reviews, news and more.
You may occasionally receive promotional content from the Los Angeles Times.


