Farmers market report: Artichokes are in season. Here are 9 great recipes
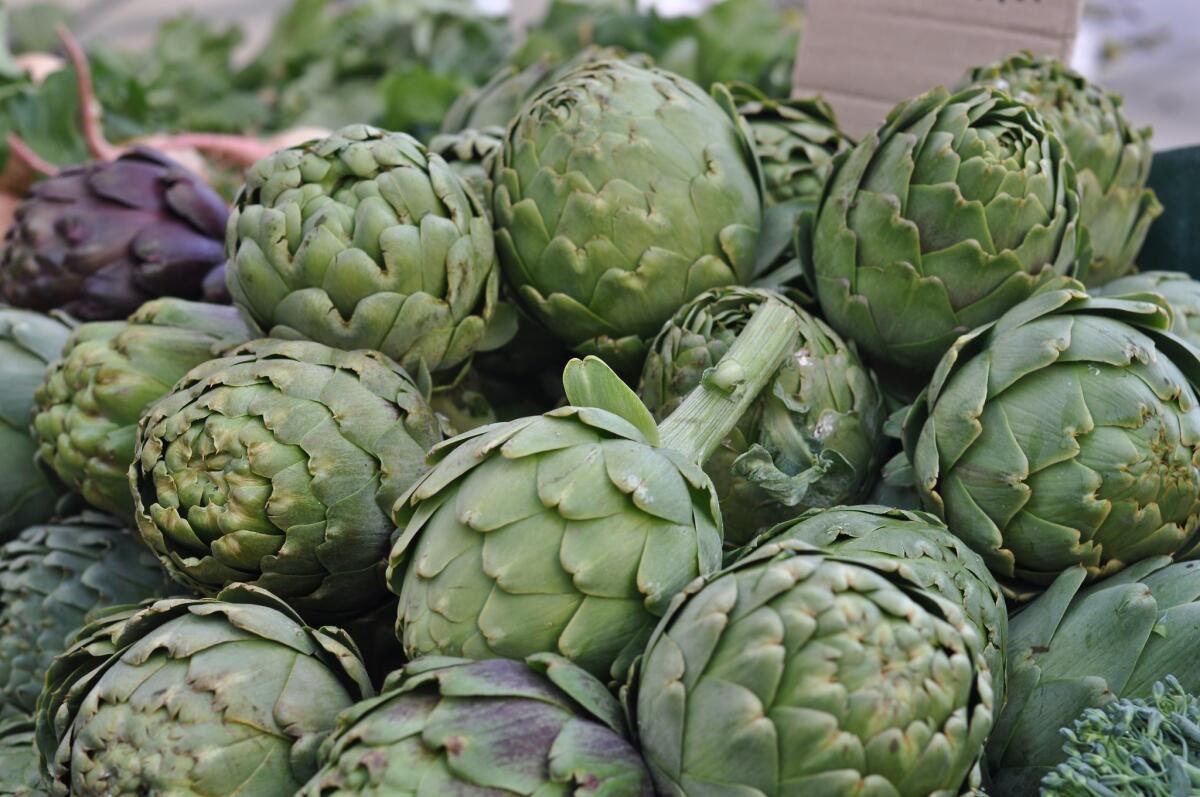
Artichokes at the Culver City Farmers Market.
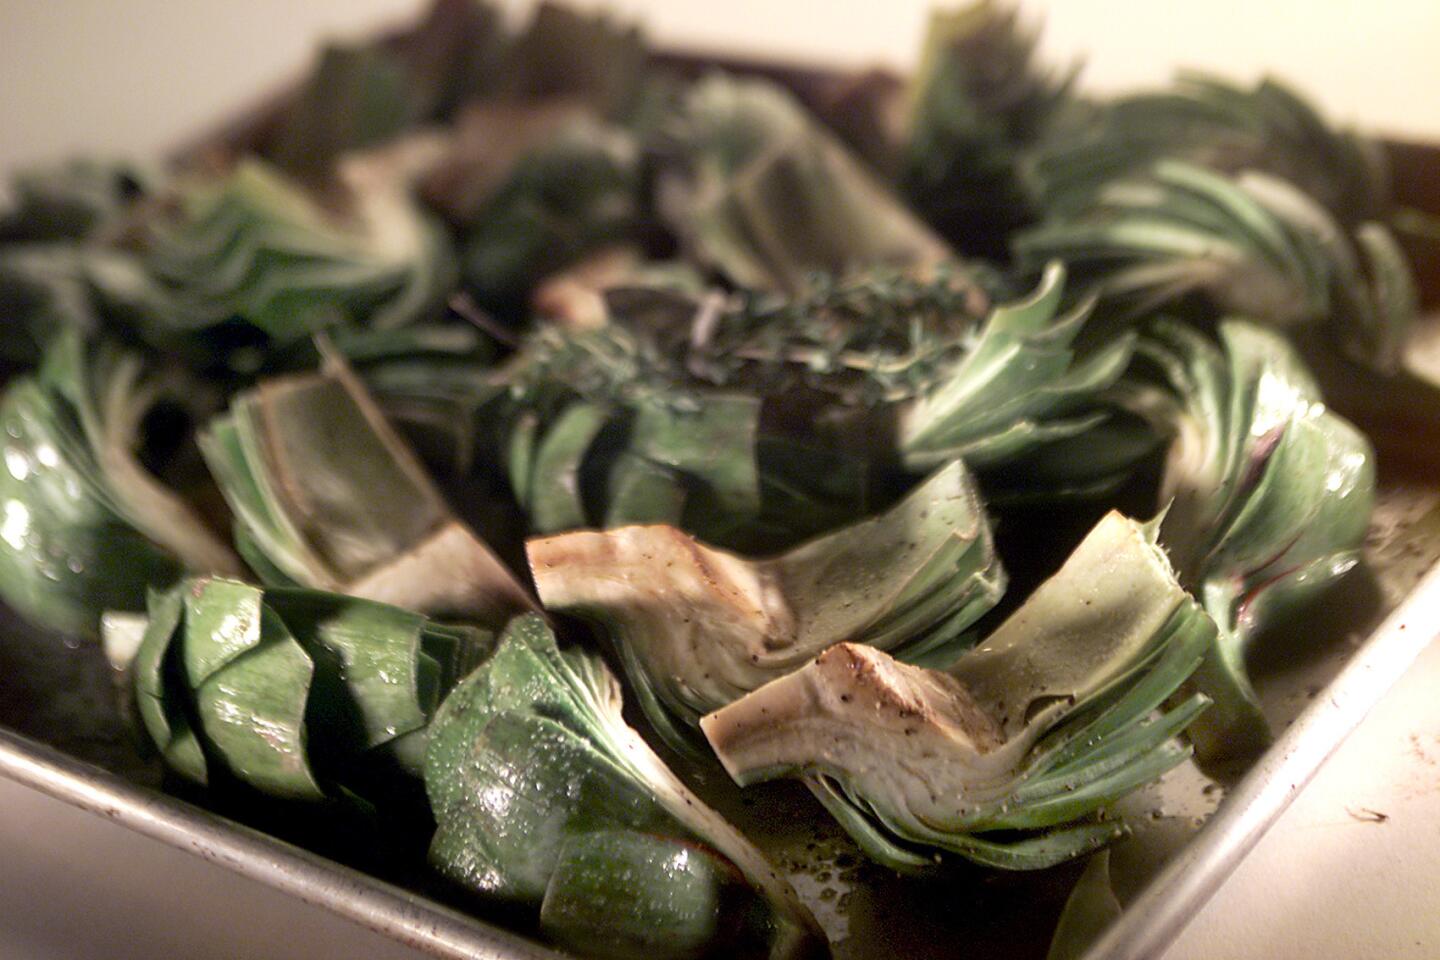
What’s in season: Artichokes are edible thistles. They come in a variety of shapes and sizes; a single plant can produce one or two massive vegetables, in addition to some medium and a larger number of smaller “baby” artichokes. If you’ve never tackled an artichoke — which has been prized since Roman times — it can come across as more than a little intimidating.
What’s on the horizon: English peas are coming into season, and if you’re lucky, some farmers (McGrath Family Farms) also sell them shelled.
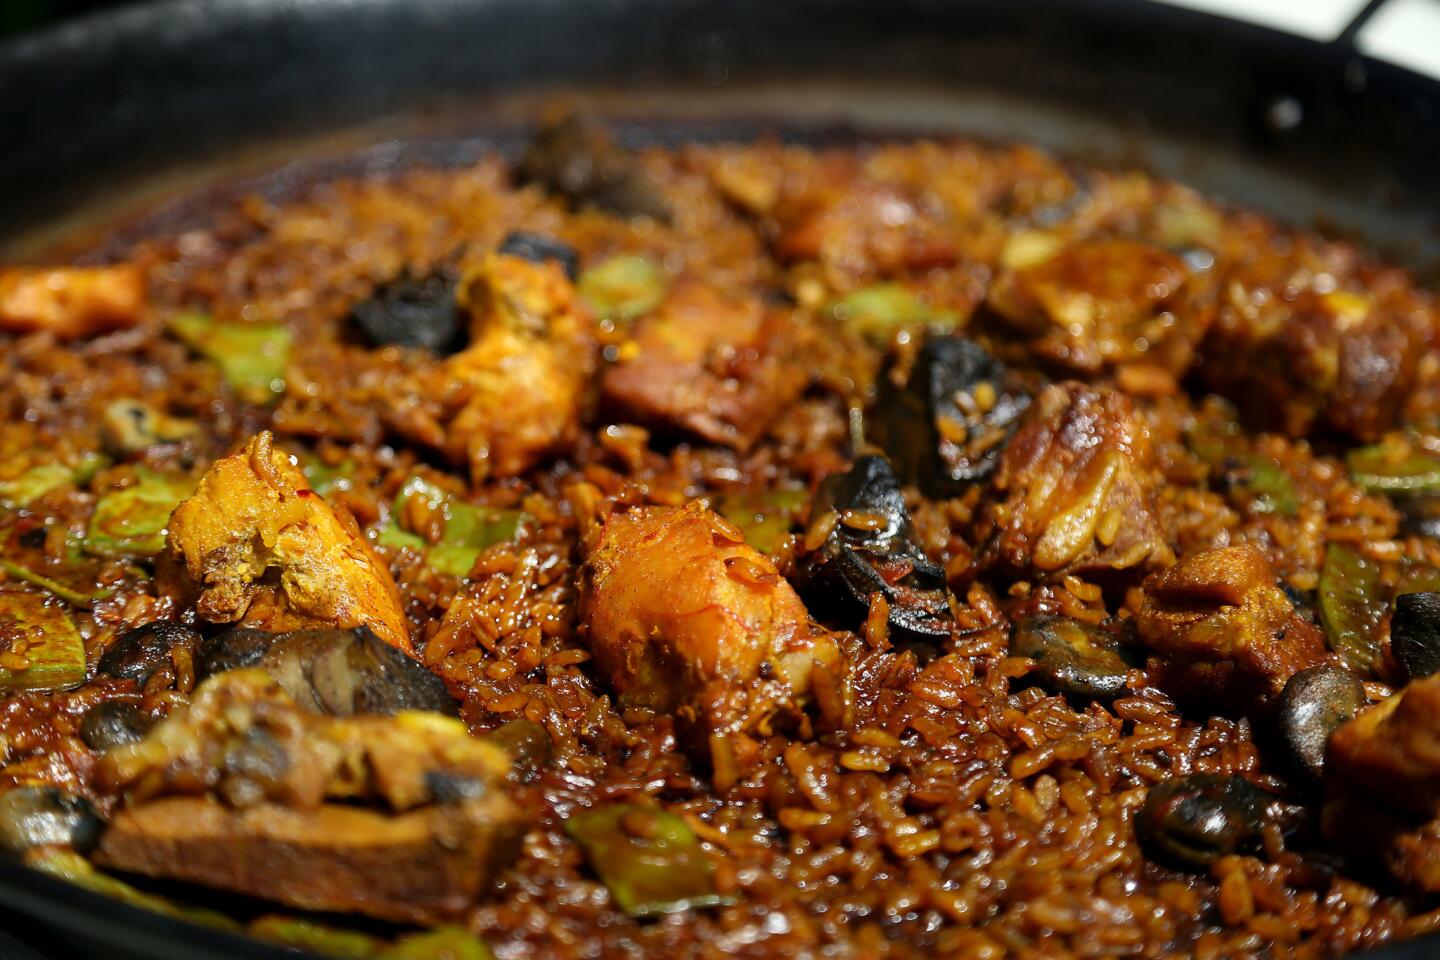
What to cook: Artichokes will require more or less work to prepare, depending on the recipe, but the results are worth it. Larger artichokes are classically steamed or boiled, then served with an aioli or melted butter. Invest a little more work in preparation — peel away the outer leaves, tough skin and fuzzy choke to reveal the “heart” — and you can add it to paella or risotto or to a simple combination of spring vegetables. Baby artichokes are much smaller and generally more tender, requiring a lot less preparation; cook the vegetables in olive oil and garlic with a little water, or shave them thinly and toss the raw slices with a salad.
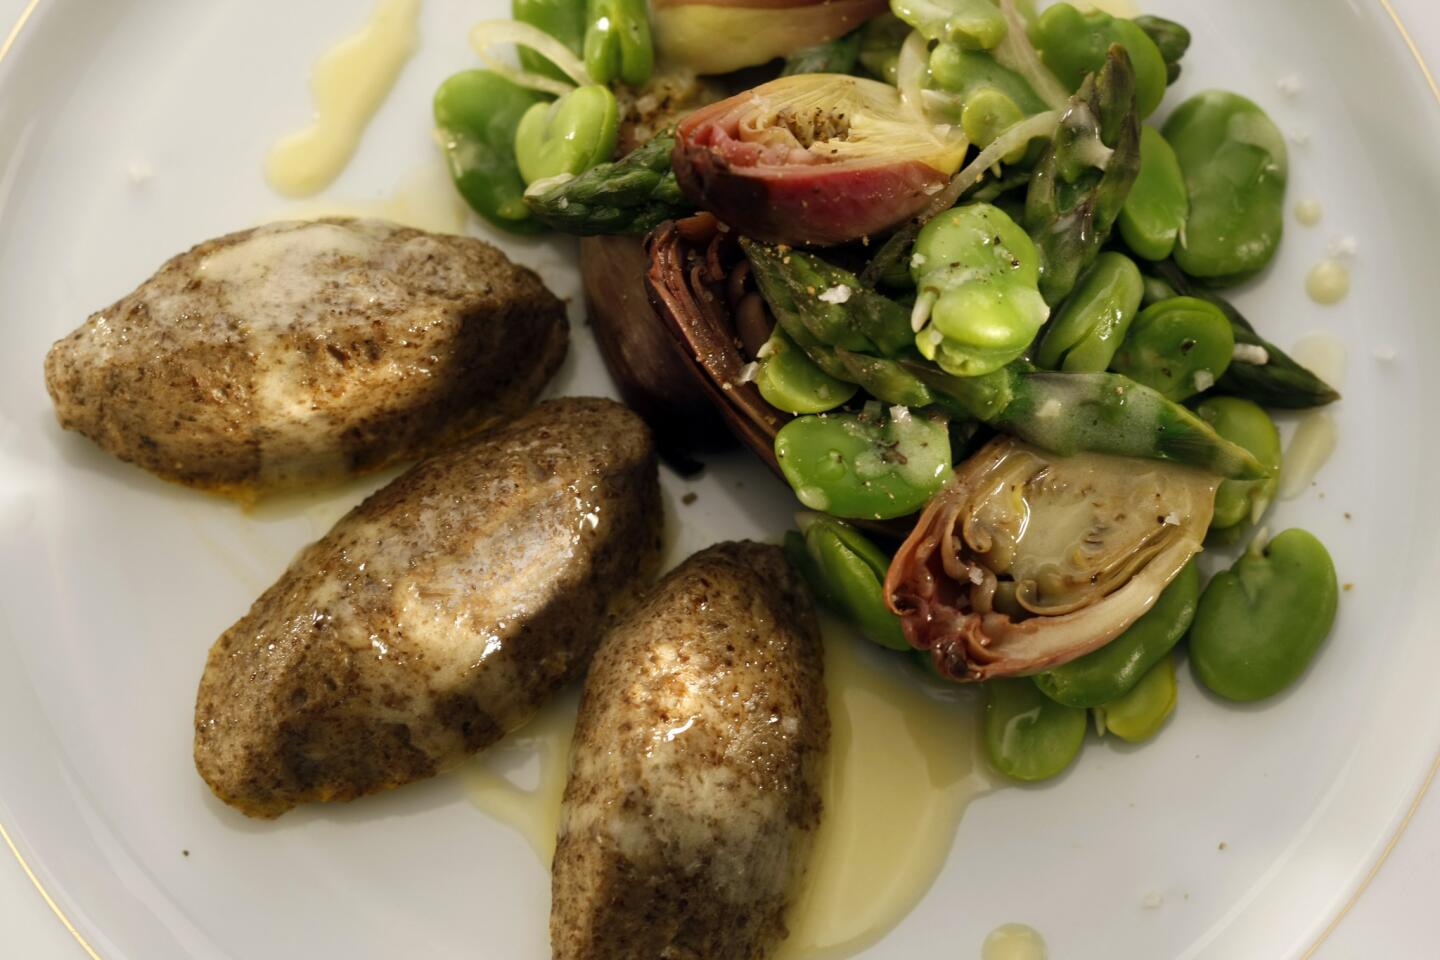
MUSHROOM QUENELLES WITH SPRING VEGETABLES
Total time: 1 1/2 hours | Serves 6
MUSHROOM DUXELLES
1 pound button mushrooms, brushed free of any dirt or grit
1 tablespoon olive oil
1 tablespoon butter
1/4 teaspoon salt
1 tablespoon minced shallot
1/2 cup dry white wine
1. Mince the mushrooms or process in a food processor until finely and evenly minced.
2. Heat a large skillet over high heat until hot. Add the olive oil and butter and melt quickly, then stir in the mushrooms and salt. Cook, stirring frequently, until the liquid released from the mushrooms evaporates. Stir in the shallot and continue to cook just until the mushrooms begin to darken, another minute or so.
3. Stir in the wine, careful of the steam as it is very hot and could burn. Stir occasionally until the wine evaporates, 2 to 3 minutes, then continue to cook until the mushrooms are very dry and richly colored, 6 to 8 minutes. Remove from heat and spread the mushrooms out on a rimmed baking sheet to cool completely. This makes a scant cup of duxelles.
MUSHROOM QUENELLES
1/4 cup (1/2 stick) butter, cut into 1/2-inch dice, at room temperature
1/2 teaspoon salt
1/2 cup water
1/2 cup (2.1 ounces) flour
3 eggs
Cooled mushroom duxelle
1/4 cup sour cream
1. In a large, wide, heavy-bottom saucepan, combine the butter, salt and water and bring to a simmer over high heat. Remove from heat and quickly stir in the flour (stir quickly or the flour lumps will cook). Return the pan to low heat and cook, stirring frequently, for about 3 minutes to cook the flour slightly and rid the mixture of any starchy, floury taste.
2. Remove the pan from the heat and stir in the eggs, 1 at a time, until thoroughly combined (stir in the eggs vigorously and quickly as the heat from the pan can scramble them).
3. Stir in the duxelles. Remove the mixture from the pan to a medium bowl set over a bowl of ice water (an ice bath).
4. When the mixture has chilled and thickened, fold in the sour cream, 1 tablespoon at a time. Continue to gently stir the quenelle base until well chilled.
5. Bring a large pot of lightly salted water to a gentle simmer. Gather 2 spoons (standard spoons, not soup spoons) and place 1 in each hand. Dunk the spoons into the simmering water until slightly warmed, then scoop a mounded spoonful of quenelle dough in 1 spoon. Using the other spoon, work the mixture, smoothing and shaping with each spoon, to form a quenelle.
6. With the formed quenelle sticking to 1 spoon, lower that spoon gently into the simmering water and shake, gently, until the quenelle releases and drops to the bottom of the pot. Continue until all the dough is used; depending on the size of the spoons, you should have about 20 quenelles.
7. The quenelles will float to the surface and puff up as they cook. Continue to simmer gently until the quenelles are puffed and just firm to the touch, about 5 minutes depending on their size (cut one open and test it; it should be cooked through and set).
8. Gently remove the cooked quenelles with a slotted spoon and drain on a slanted baking sheet (angle the sheet so any liquid from the quenelles drains away). Continue until all of the quenelles are cooked, and set them aside until cooled. Place the cooled quenelles in a baking dish, cover and refrigerate until well chilled. The quenelles can be made ahead up to this point and refrigerated up to 3 days.
FINAL ASSEMBLY
2 cups vegetable broth, more as needed
2 cups dry white wine
2 tablespoons thinly sliced shallot
1/2 teaspoon minced garlic
Mushroom quenelles, chilled
About 3 cups blanched and chilled spring vegetables, such as asparagus tips, fava beans and baby artichokes
Fleur de sel
Cracked black pepper
1/4 cup (1/2 stick) cold butter, diced into small pieces
1. In a large (12- to 14-inch) saute pan, combine the vegetable broth, wine, shallot and garlic. Bring the mixture to a simmer over high heat and cook until the mixture reduces by half (or the mixture comes no more than one-fourth inch up the side of the pan). Reduce the heat to a very gentle simmer.
2. Gently place the mushroom quenelles in the pan, leaving enough space between them to allow them to steam. Cover the pan tightly and steam the quenelles just until warmed through, about 3 to 5 minutes.
3. Gently remove the warmed quenelles from the pan with a spatula, fork or slotted spoon and set aside in a warm place.
4. Add the blanched vegetables to the pan and cover. Steam the vegetables just until warmed through, about 1 minute. Strain the vegetables with a slotted spoon and mound on each of 6 warmed plates, and garnish each mound with a sprinkling of fleur de sel and cracked pepper. Divide the quenelles between the plates, about 3 per serving (you may not use all of the quenelles).
5. There should still be a thin film of liquid on the bottom of the warm pan (a few tablespoons); if it is mostly evaporated, add a little more vegetable broth and wine and swirl around the pan until warm (conversely, if there is too much liquid, drain the liquid until you have about 3 tablespoons in the pan).
6. Add the cold butter, a few pieces at a time and swirl the pan until they melt (do not whisk or stir, as the sauce could pick up metal residue from the pan and discolor). When the butter is almost melted, add more pieces, continuing until all of the butter is incorporated. The sauce will thicken as the butter is added. (Adding, or “mounting” the sauce with butter can be very tricky as the pan and broth must be just warm -- neither too hot nor too cold -- otherwise the butter will separate. If the butter does separate, whisk in a little cold cream to bind the sauce together for service.)
7. Drizzle a little of the sauce over each plate and serve immediately.
Each serving, with asparagus only: 317 calories; 9 grams protein; 18 grams carbohydrates; 3 grams fiber; 17 grams fat; 8 grams saturated fat; 135 mg. cholesterol; 5 grams sugar; 505 mg. sodium.
Love cooking as much as I do? Follow me @noellecarter
ALSO:
22 recipes using hard-boiled eggs
Easter: Homemade Peeps, Cadbury eggs and more recipes
These coffee doughnut muffins are everything you want for breakfast
More to Read
Eat your way across L.A.
Get our weekly Tasting Notes newsletter for reviews, news and more.
You may occasionally receive promotional content from the Los Angeles Times.
